ATTACK SCENARIOS SET-UP
In this section, you will learn all the different ways you can create new attacks, modify existing ones, and even write your very own attack with Python using the SafeBreach SDK.

This section’s objectives are:
- Learn how to filter and choose attacks from the Playbook
- Modify existing attack and change it’s parameters
- Understand the main blocks of our breach studio Python SDK
Step 1 – Configure Getting Started Attacks
The easiest way to get started with the attacks is to configure an attack from our “getting started” package.
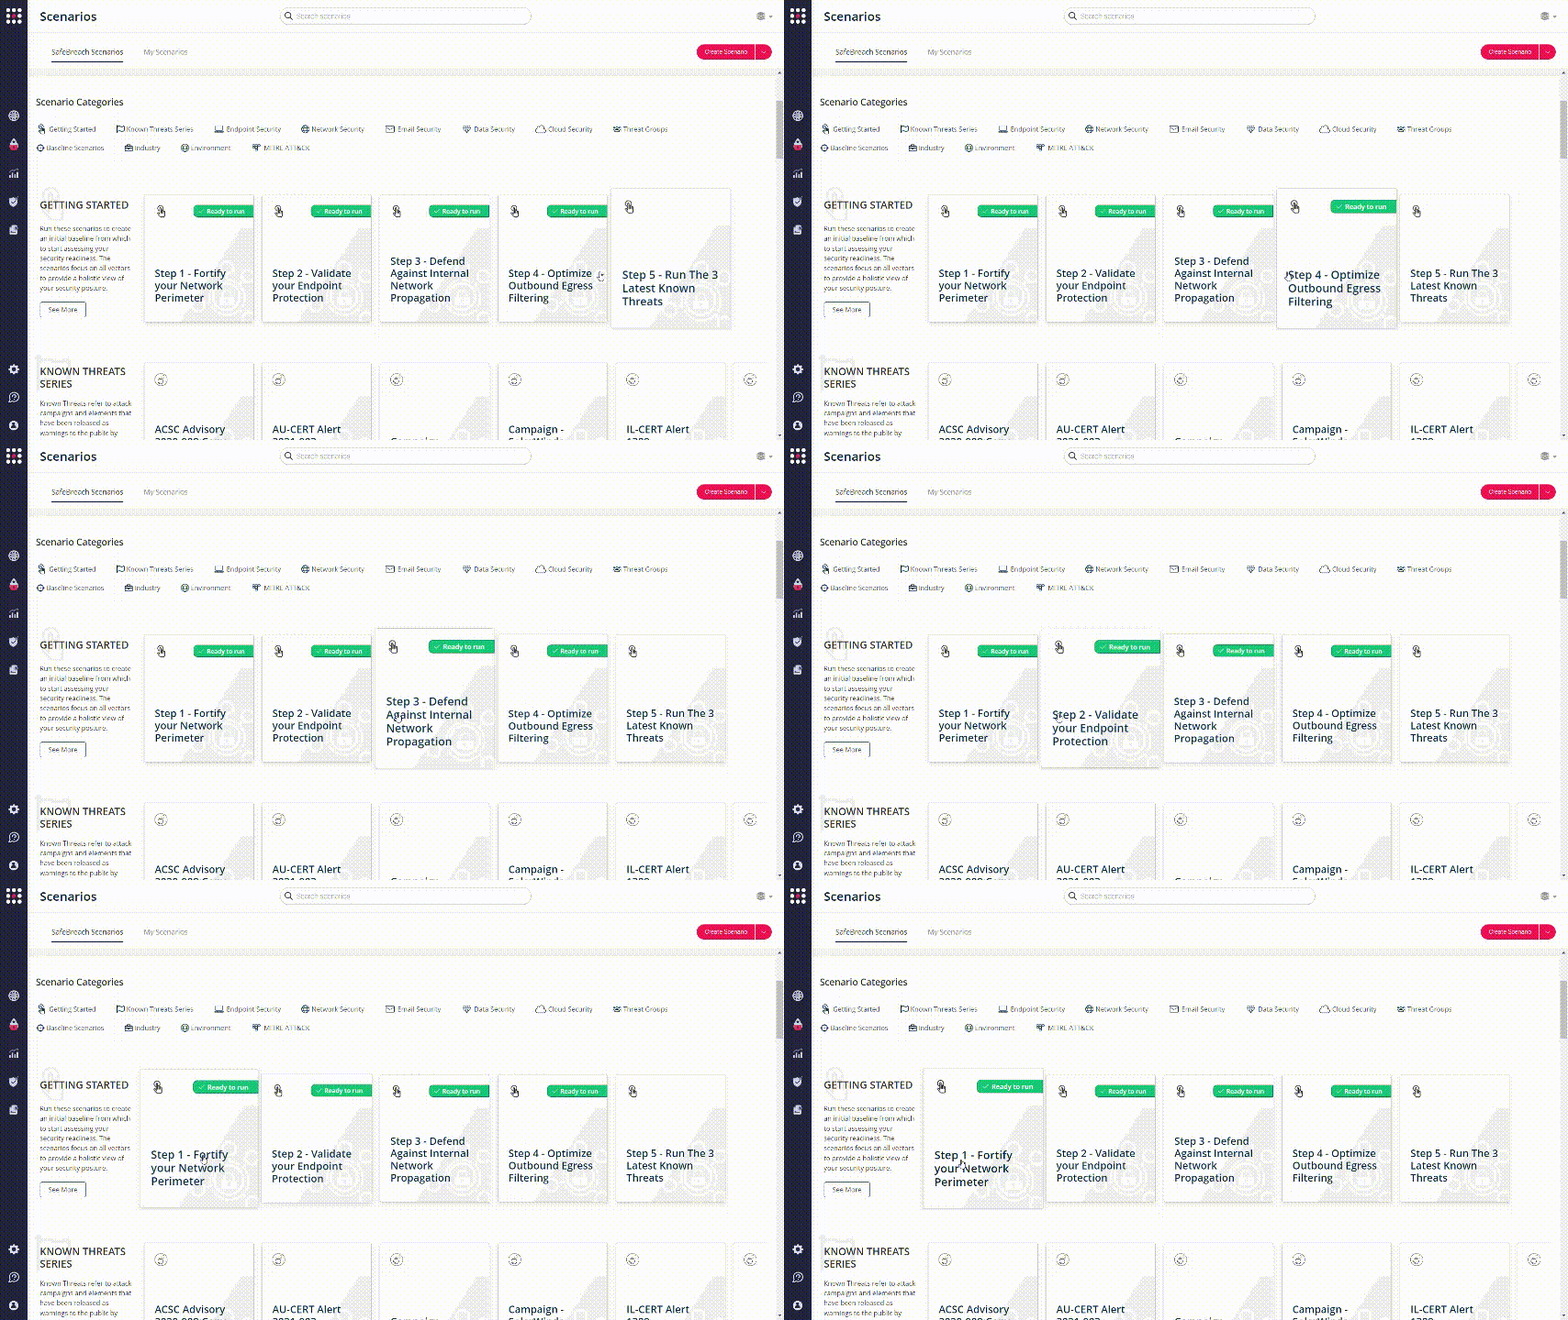
Find the “ready to run” markers on the SafeBreach Scenarios screen:

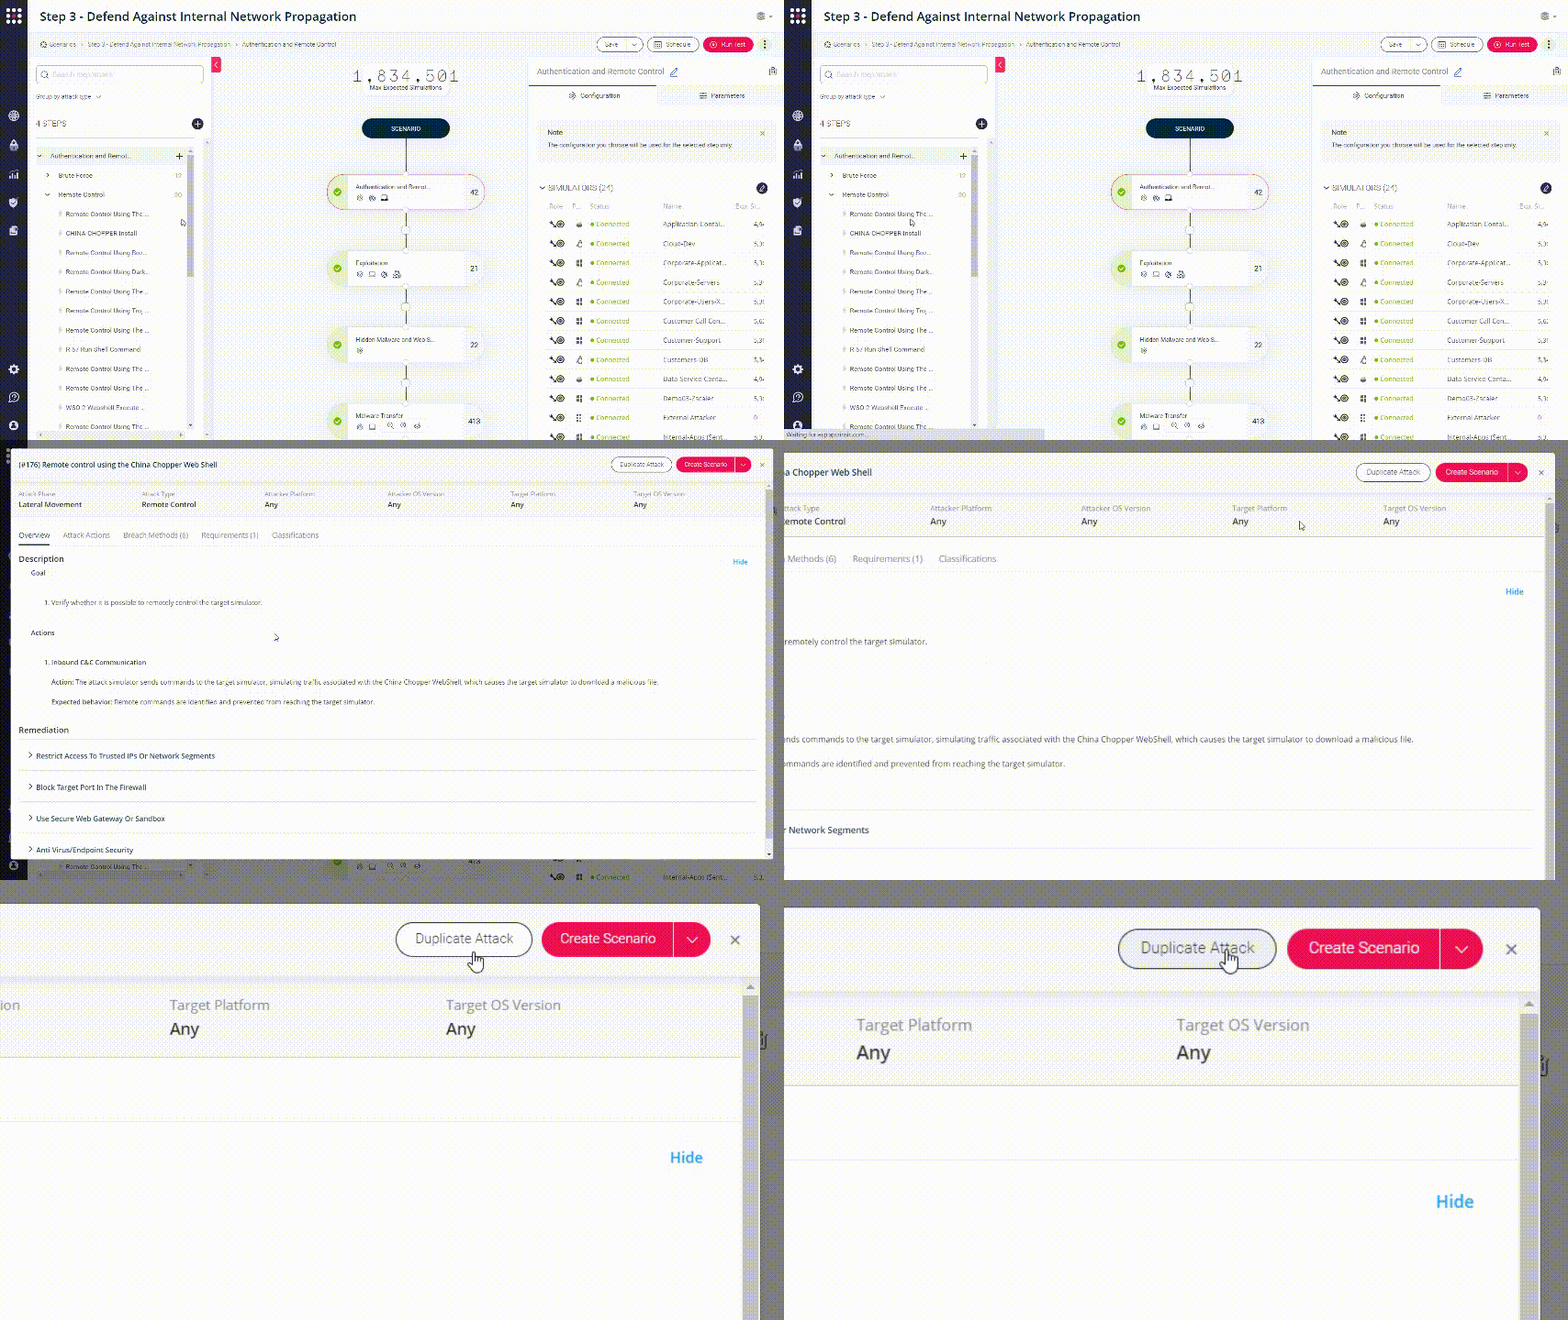
Choose one of these scenarios and pick an attack from the left panel. To change it’s parameters, click on Duplicate Attack:

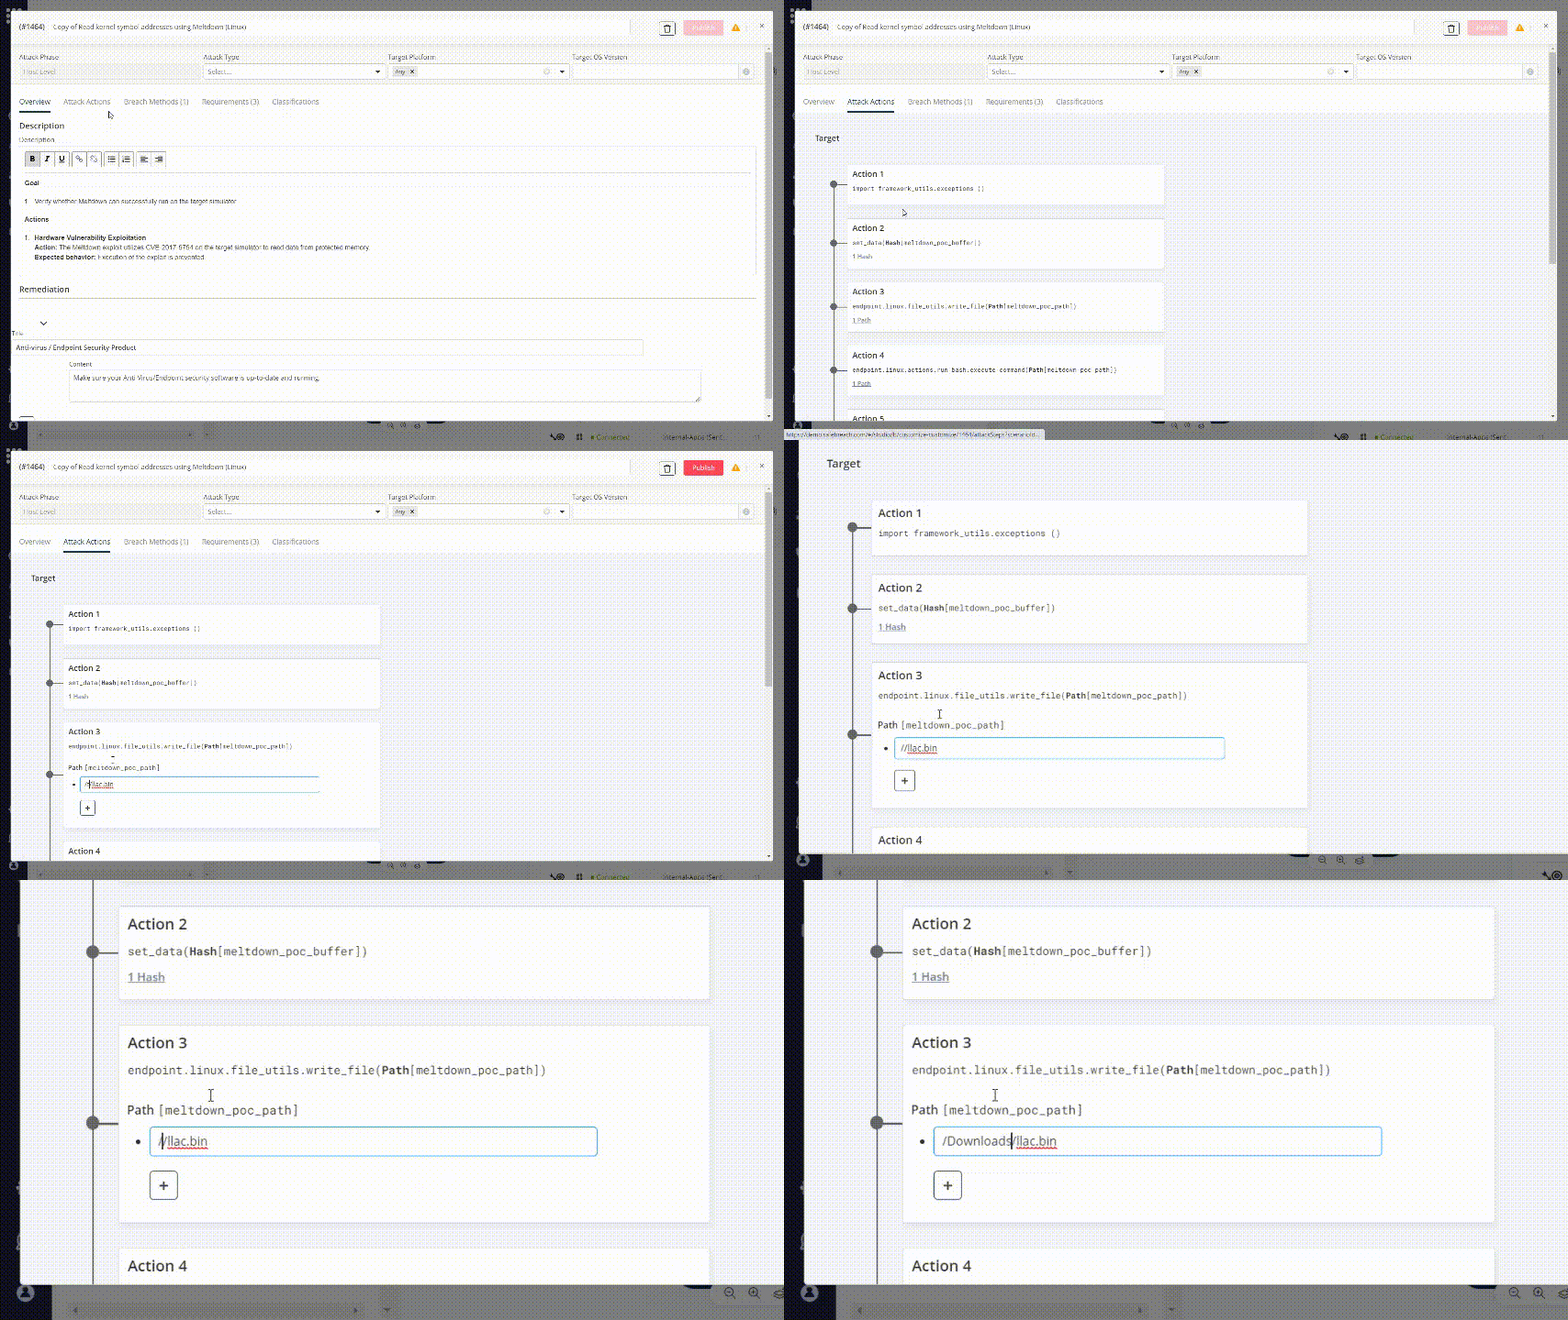
Go to Attack Actions tab and change one of the paths in which the malware file will be written:

Give your modified attack a name that you’ll remember.
Save the attack and import it to your existing “Getting Started” scenario.
Run the scenario.

Step 2 – Attack Phases
There are four attack phases in the cyber security world. Infiltration, Host level, Lateral Movement and Exfiltration. Watch this video and learn about them and the coverage that SafeBreach provides to each of them
Step 3 – Common Use Cases
SafeBreach platform can be used for many reasons – it can verify your security controls, it can test your system’s against common attacks in your industry, it can verify the isolation of your network perimeters and more. Check out the common use-cases below and learn about the different use cases of our platform
Step 4 – Breach Studio
With the SafeBreach Breach Studio, you can write your own attack scenarios using the SafeBreach SDK. With SafeBreach’s Python libraries and easy-to-use tutorials, you can quickly create custom attacks like in no time.
Congratulations !
You have finished the step.
Proceed to the next step – Lowering Security Risk


